Building a UI kit from scratch sounds like one daunting task. Doing so overwhelms the pros, so it naturally feels intimidating for beginners.
Ten years ago, the design process would have felt like an uphill struggle.
The process has become slightly easier today, thanks to a design tool called Figma.
Figma has over 60 million users worldwide. Creators from around the world use it to design UIs for websites and apps.
Figma works on your browser, so you can design, prototype, and collaborate with others in real time.
Its generous design community give you access to the basic components you need to start creating your UI kit.
The best part? Many of them are free to use and can be customized to your own needs. You no longer need a design agency’s budget to bring your creativity and best bits of imagination to life.
In this blog, we will guide you through the steps to create an end-to-end UI kit using only Figma’s free resources.
Start With a Clear Goal
The first step is to take the time out to understand what you need. This means asking the question: “What am I building?”
Is it a mobile app, a web development project, or a data dashboard?
How you answer this question shapes everything that follows.
Make an itemized list of everything your UI kit will need. This will include the basics like:
- Buttons (default, hover, active, disabled)
- Input fields (text, password, dropdowns)
- Checkboxes and radio buttons
- Icons
- Typography styles (headings, body text, captions)
- Color palette
- Spacing and grid system
- Navigation bars and side menus
- Cards and containers
- Alerts and notifications
- Modals and popups
The following elements may additionally be required depending on the type of product you’re building:
- Data visualizations (charts, graphs, tables)
- Calendar pickers
- File upload components
- Search interfaces with filters and results
- Pagination controls
- Tabs and accordions
- Multi-step forms or wizards
- Mobile-specific components (e.g., bottom nav bars, swipe gestures)
- Dark mode themes
- Voice interface elements
- Custom cursor states
- Accessibility indicators (focus rings, screen reader labels)
- Complex states (loading, error, success, empty states)
- Component variants (e.g., large/small buttons, filled/outlined styles)
- Design tokens or variable systems (for developers to translate the design into code)
Use Free Kits Available in Figma
If you haven’t already done so, create a free Figma account.
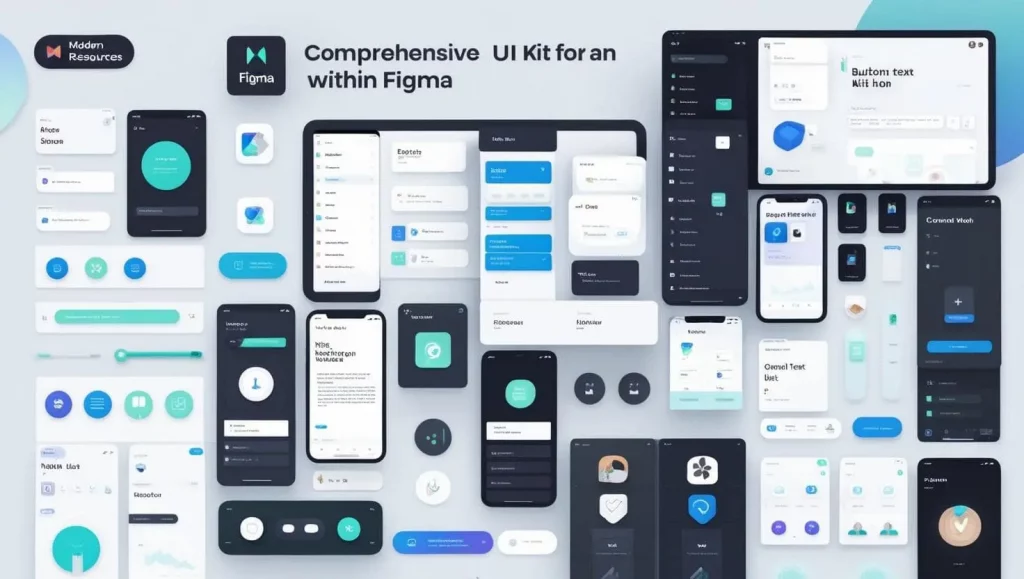
UX designer tools like Figma boasts a vibrant and active community of designers who are happy to share their UI kits at no cost.
These kits are packed with all the necessary components, along with inspiration on how to lay them out. That’s right — you can see how the UI creators envisioned their kits being put together through template and layout examples.
The kit authors could be people from Figma, large companies like Google and Apple, or independent freelance developers like you.
You can access these kits by searching for them in the Figma Community. Just type in what you want. For example, “UI kit for e-commerce app,” and you’ll be flooded with inspiration.
Many of these are available at no cost and can serve as a starting point for building your own system.
Bring The Assets into Your Own File
Found something you like? Click and open it in Figma.
Create a copy of the kit in your workspace and start to experiment.
The best thing to do is to organize the components into clear sections. For example, put all the buttons in one area and the icons in another area. That way, things are easier to find.
This planning and organization stage is crucial in creating a usable system.
Adapt The Styles to Your Project
No free UI kit will be created to perfectly meet your needs. Customization is an inevitable part of the process.
Start by adjusting color variables, typography, and spacing. These changes should reflect your brand or the product you’re designing for, whether it’s an HR dashboard, mobile app, or e-commerce platform.
Figma makes this easy with its Styles and Variables features. You can define a color palette once and apply it across your entire file. You can also create consistent text styles and shadows. If you need interactive elements, such as button states or different types of inputs, you can set these up using component variants.
The customization shapes a pre-existing kit into something that looks completely different and unique for your purpose.
Build Design Layouts and Screen Examples
Once your application components are ready, start building real screens. This step helps you test how everything fits together.
Use layout templates that come with the UI kits, or build your own from scratch. Create common screens like login pages, dashboards, and user profiles. Use Auto Layout to keep your designs responsive and easy to adjust. Don’t forget to test how your screens look on different devices and screen sizes.
A good UI kit is a working system that solves real design problems. Building and testing full screens is where your kit comes to life.
When gathering resources for a UI kit, developers shouldn’t overlook the power of AI tools to speed up the workflow. Many designers have found that a ChatGPT prompt cheat sheet can save hours of work when generating placeholder content and even basic design pattern suggestions.
Instead of using generic lorem ipsum text for components, one can quickly generate contextually relevant content that makes mockups feel more authentic. This approach integrates especially well with free design tools, enabling rapid prototyping and iteration without incurring expenses on premium resources.
Add Simple Documentation
Even if you’re the only person using the kit, adding a short guide inside your Figma file will save you time later.
(There’s a good chance your chosen kit had similar documentation from the original creator.)
Write a short page explaining how to use the components, what naming conventions you’ve followed, and how to customize the kit. If you hand the file over to someone else, this documentation will help them understand your structure.
Test, Iterate, and Improve
Once your kit is in use, test it in real design work. Prototype a flow, use the components across multiple pages, and identify gaps or inconsistencies.
Make sure you follow the essential design principles and ask other designers for feedback. If something takes too long to find or doesn’t behave as expected, make adjustments.
One thing you’ll learn as a novice UI designer is that a UI kit is never really finished! It evolves as your design needs and skills grow.
What to Watch Out For When Using Free Kits
Free resources are powerful, but they also require careful use. Don’t copy and paste without thinking. Use these kits as a foundation, not a shortcut.
Make sure you understand the license before using any free kit in commercial projects. Most allow free use, but it’s good practice to credit the creator where appropriate. Also, keep an eye out for kit updates. Some designers maintain their kits and offer improvements over time.
If you’re combining parts from multiple kits, take extra care to standardize styles. Mixing different design systems without harmonising them can lead to confusion later.
You Don’t Need Money to Design Professionally
A polished UI kit doesn’t need to cost you anything. With Figma and its community of free resources, you can create a professional design system that supports your work, improves consistency, and saves time.
What matters most is how you adapt those resources to meet your needs. Organize your components effectively, make them your own, and continually improve as you go. That’s what turns a free template into a powerful yet simple design tool that produces something as if it were created from scratch.


